Symbl.ai partners with Agora.io to provide developers with new ways to augment their existing Real-Time Engagements. In terms of Agora.io’s Extension Marketplace, Symbl.ai enables those who activate Symbl.ai’s Extension to add features for Conversation Intelligence (CIf) directly within their Android mobile applications.
Symbl.ai has released its Extension in Agora.io’s Extension Marketplace and has released a sample Android mobile app. The Android sample app is designed to enable Symbl.ai’s CI features in an Agora.io Video SDK at version 4 or higher. The features enabled already in Symbl.ai’s Extension are: Transcription, Action Items, Questions, Follow Ups, Topics, Trackers, and, last but not least, live captions. It means that on top of Agora.io’s voice, video, or text capabilities, you now have Symbl.ai’s CI features right out of the box. The sample app is designed to showcase the joint capabilities of both Symbl.ai’s Extension within an Agora.io video calling app on Android.
To get up and running with Symbl.ai’s Extension inside of its sample Android app for real-time CI, these are a few steps you have to take.
Symbl.ai’s Extension in Android App with Agora.io
1. Navigate to Agora.io’s console where you can sign up for a free developer account. Create a new project by clicking on the the Create button under Project Management.

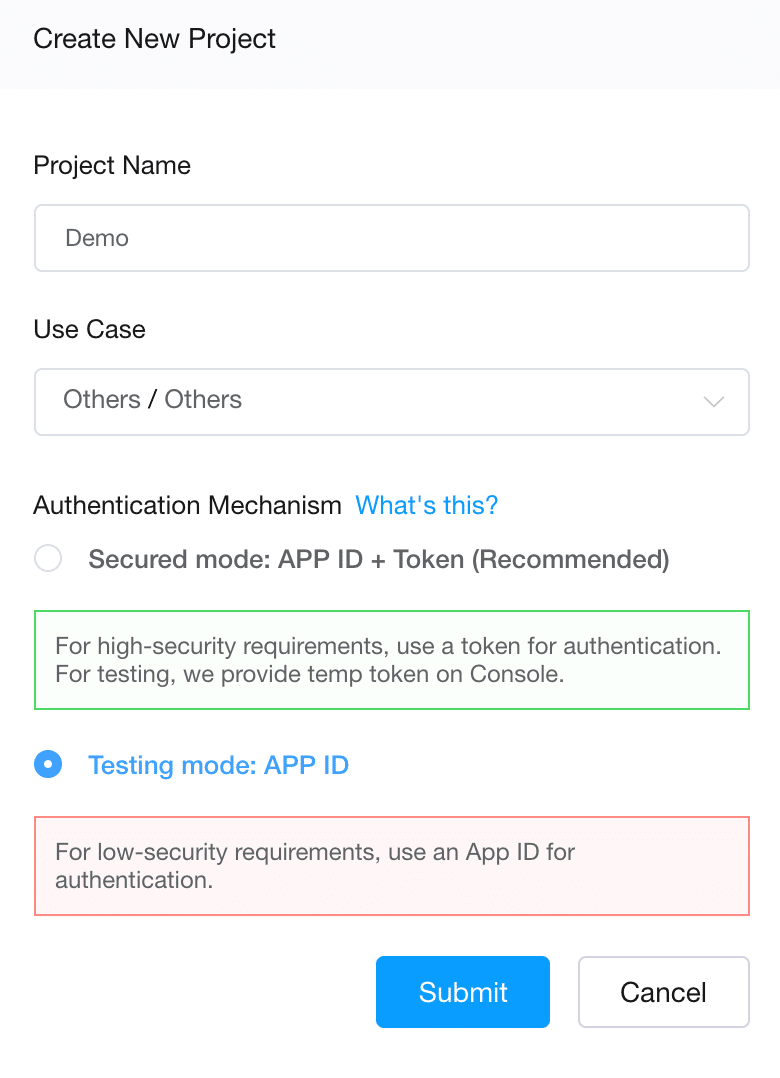
2. Provide the name, use case and security mechanism for your project.
Click the Config button under the Action column next to your recently created project.
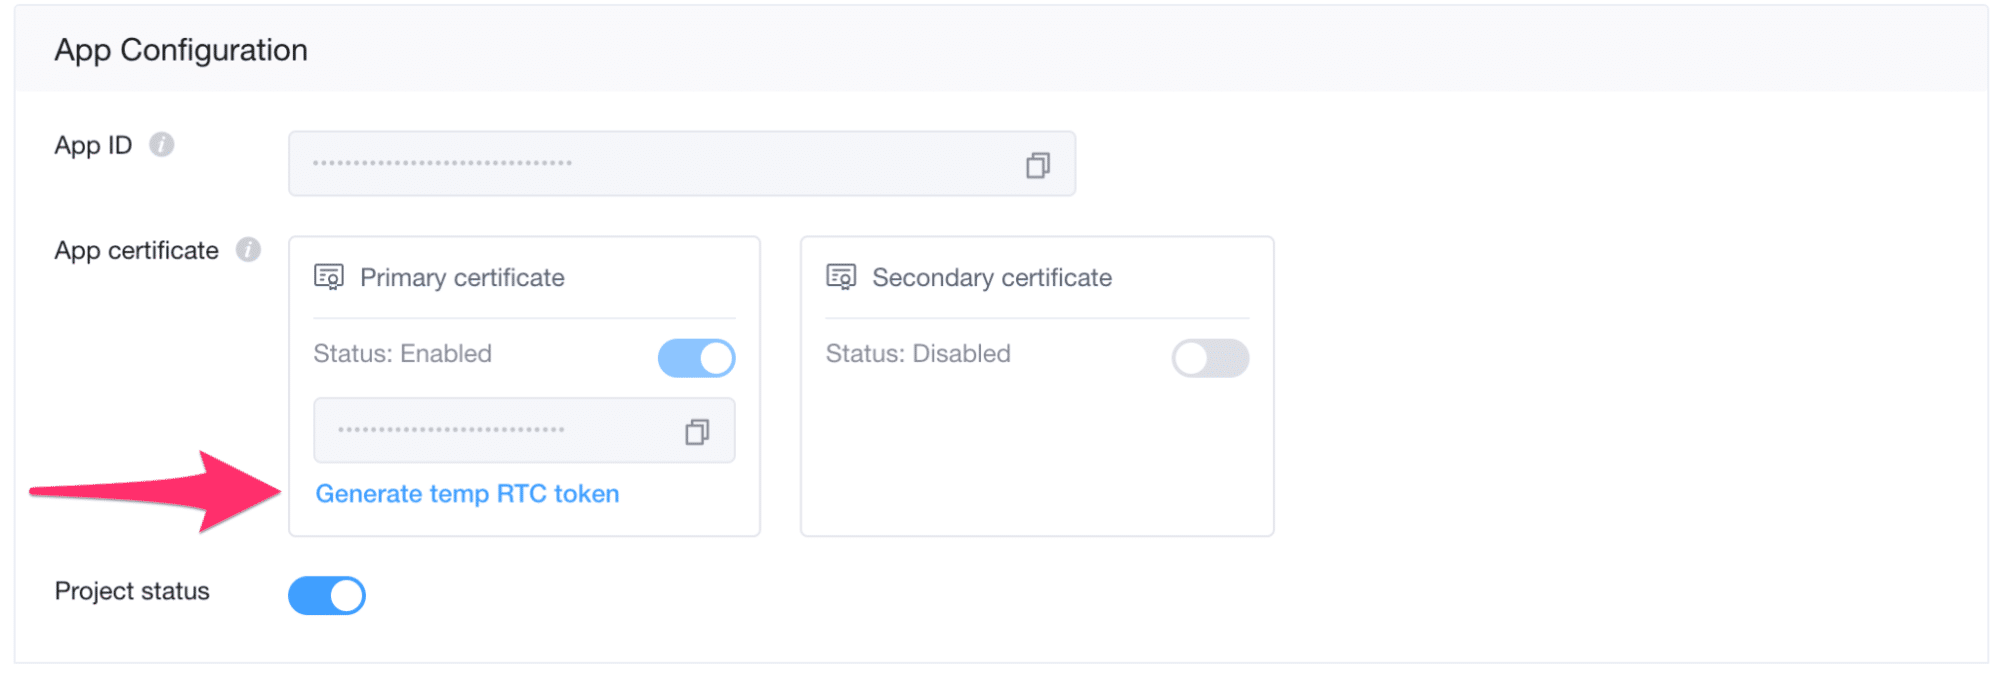
3. Turn the Primary Certificate toggle on and click the Generate temp RTC token button.
4. Provide a Channel Name and click the Generate Temp Token button. Copy the APP ID, Channel Name and Temp Token
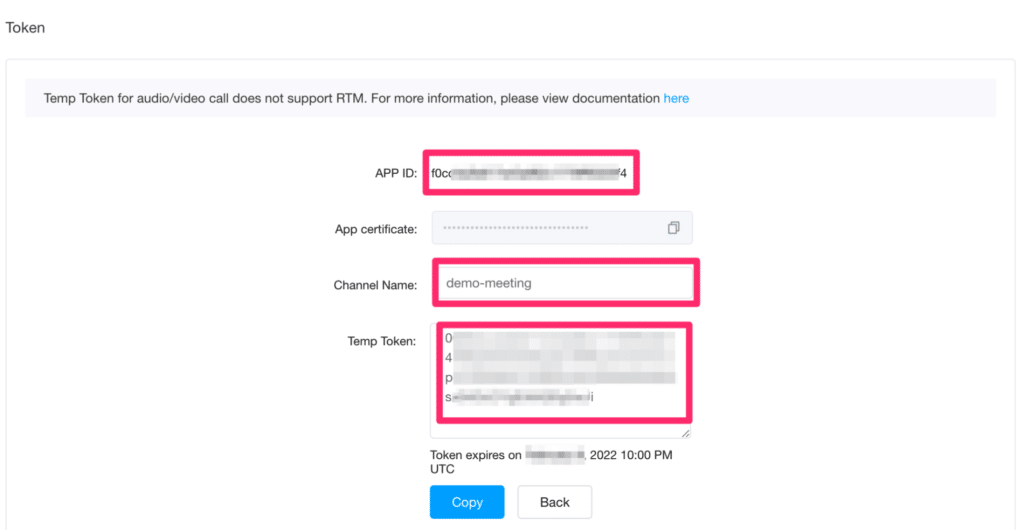
You are going to update the sample mobile app configuration with the agora_customer_app_id (APP ID) and agora_token_value (Temp Token) below. The Channel Name is going to be used while you are running the mobile app on your device.
5. After setting up your project, head over to the Extensions Marketplace and select the Symbl.ai Conversation Intelligence card.
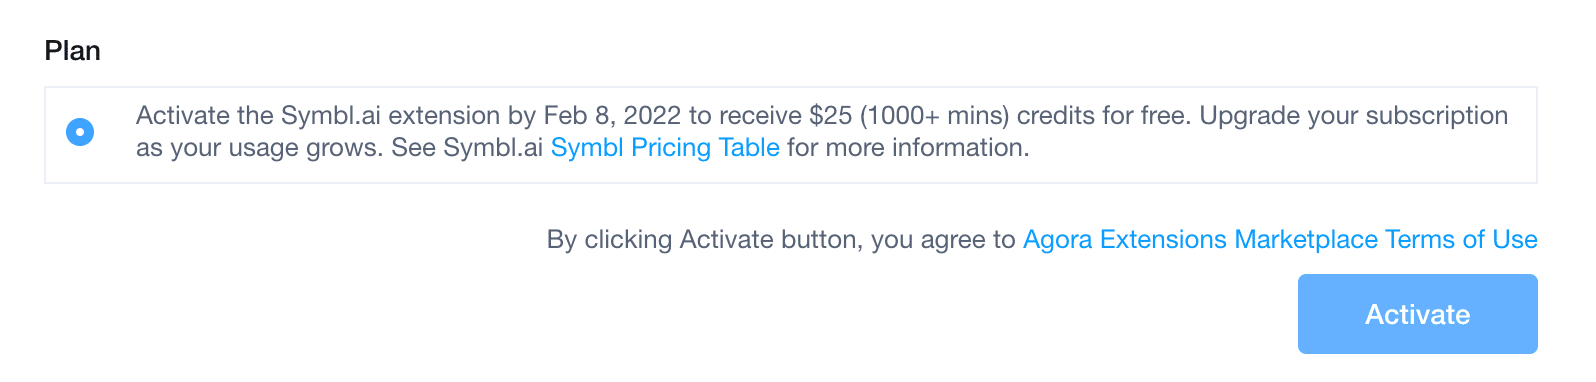
6. Scroll down and click the Activate button to activate the extension and retrieve the required Symbl.ai credentials.
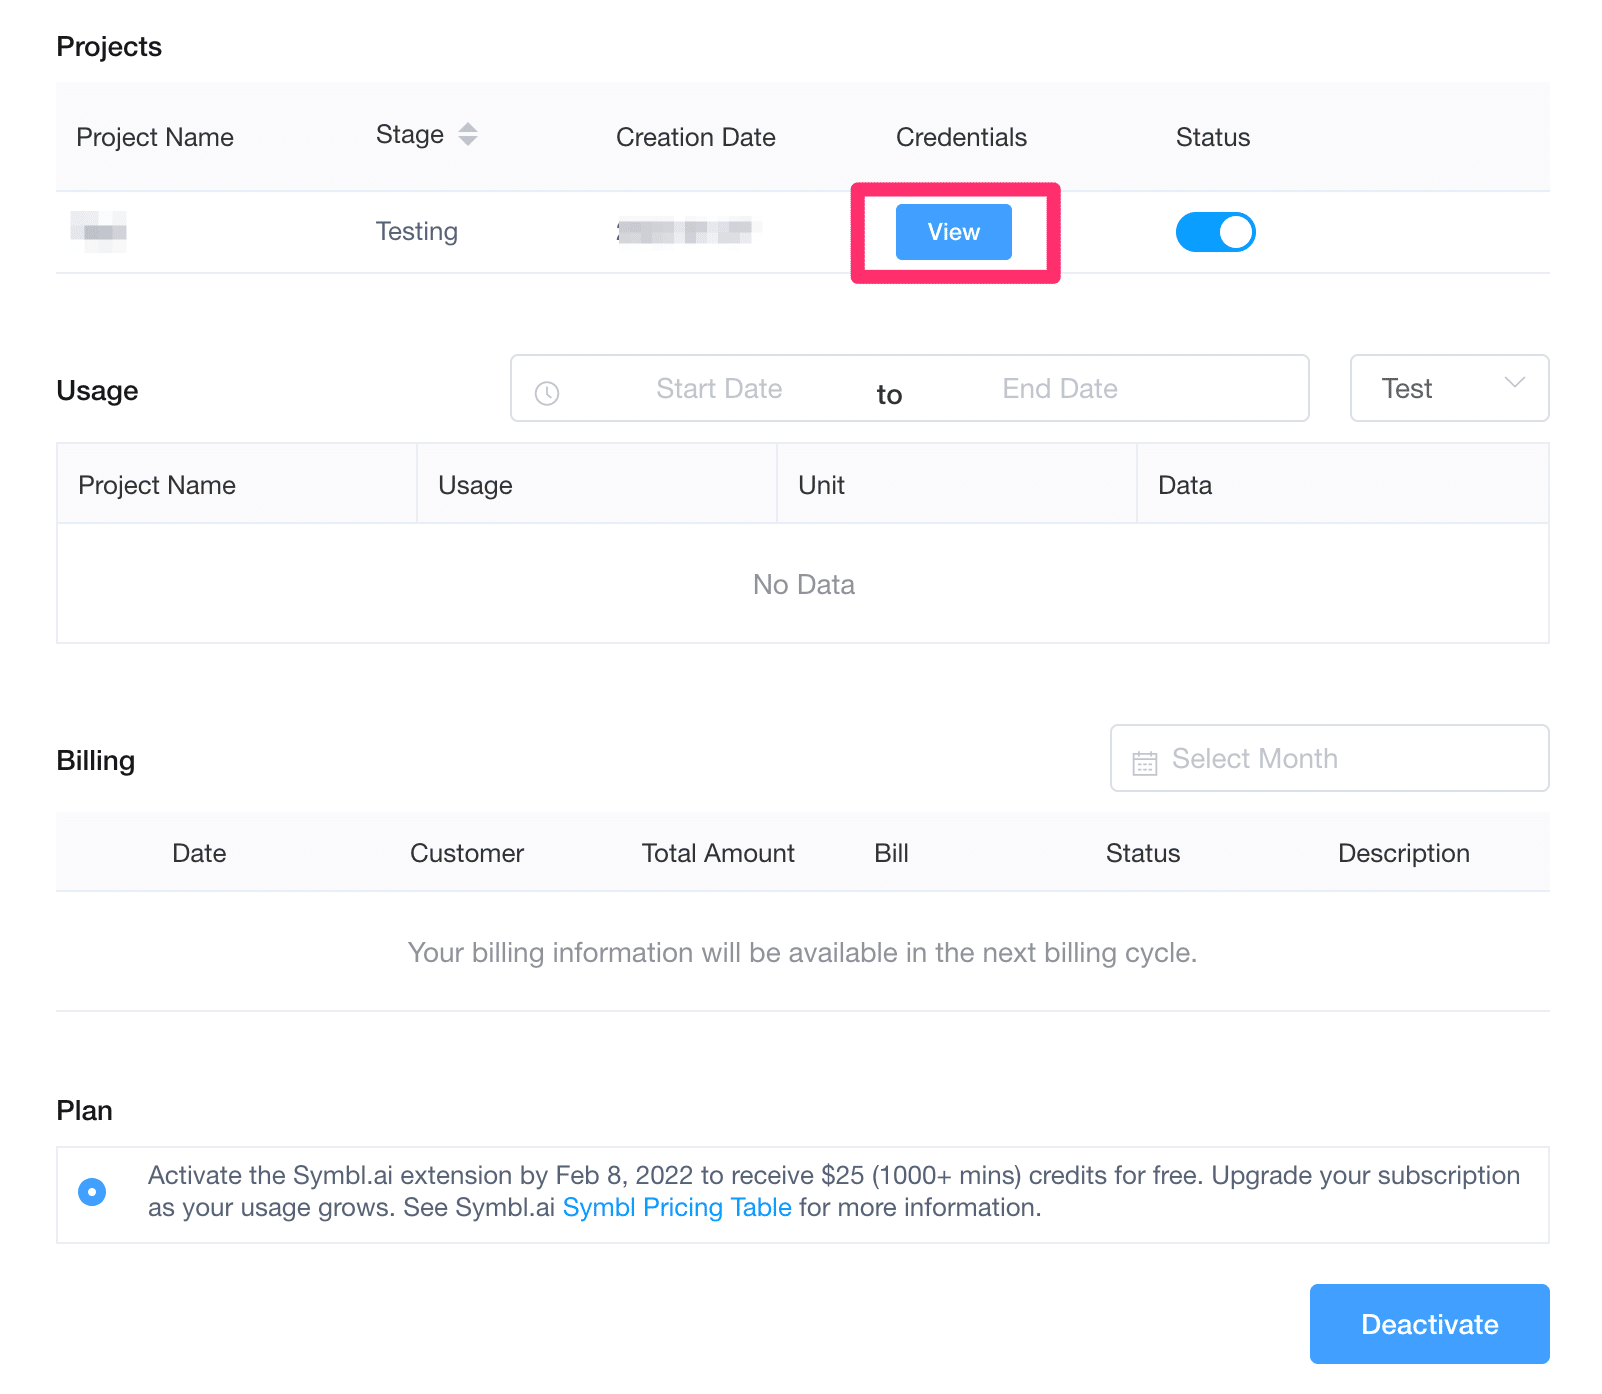
7. With the Symb.ail extension activated, click the View button to retrieve the credentials.
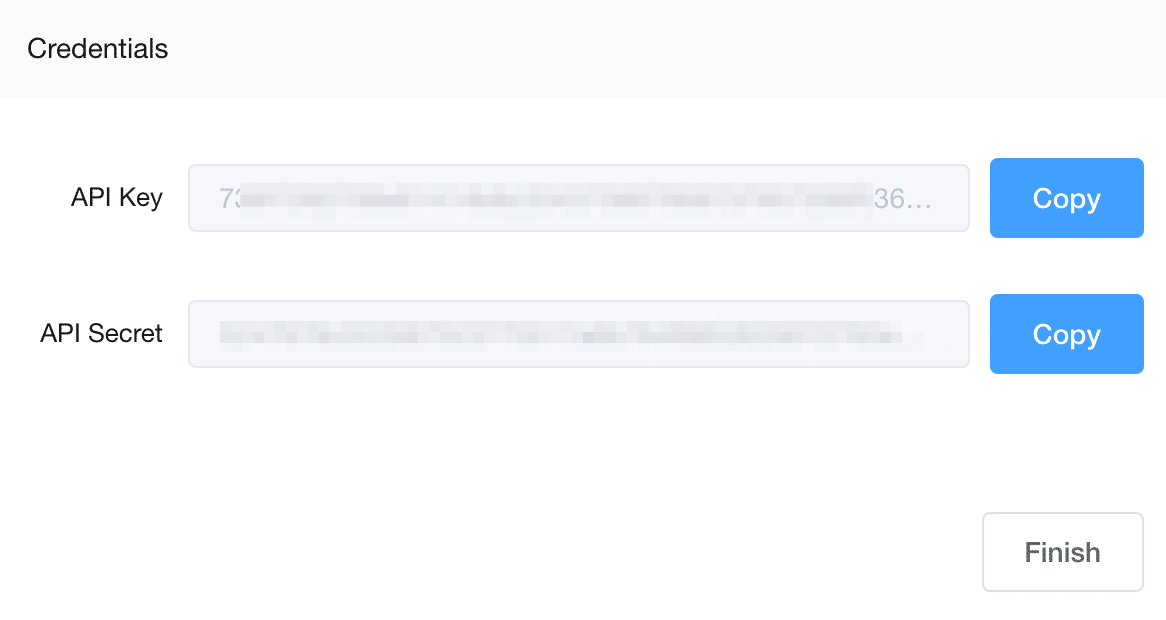
Copy the API Key and API Secret values and then click Finish. You are going to update the sample mobile app configuration with the symbl_app_id (API Key) and the symbl_app_secret (API Secret) values below.
8. Next, you are going to clone or download the sample Android app from the following repo: https://github.com/symblai/symbl-agora-Android-app

9. Load the sample mobile app source code in Android Studio and navigate to the strings.xml file (which is a reference file Android provides automatically under app/res/values) where you will find variables with the following names: symbl_app_id, symbl_app_secret, agora_customer_app_id, agora_token_value. Add the values of the variables you have copied from the previous steps.
Build the App
The next step is to build the project. With your configuration set up for both Agora.io and Symbl.ai, your next step is to build the .apk.
- In this step, you will build the app using Android Studio. Navigate to Build -> Make Project. It will download all of the dependencies listed in the build.gradle, all of which are preloaded into the sample app.
- After building the .apk, you deploy the app directly to your Android device in the Run/Debug list of available devices. Make sure to run your app on an Android phone rather than the emulator. Android Studio’s emulator does not emulate the same level of access to hardware such as the camera or the microphone as do actual phones so it’s recommended to deploy and run the app directly on a real device.
With the app added to your phone, join or create an Agora.io room to begin making or receiving calls.
Running the App
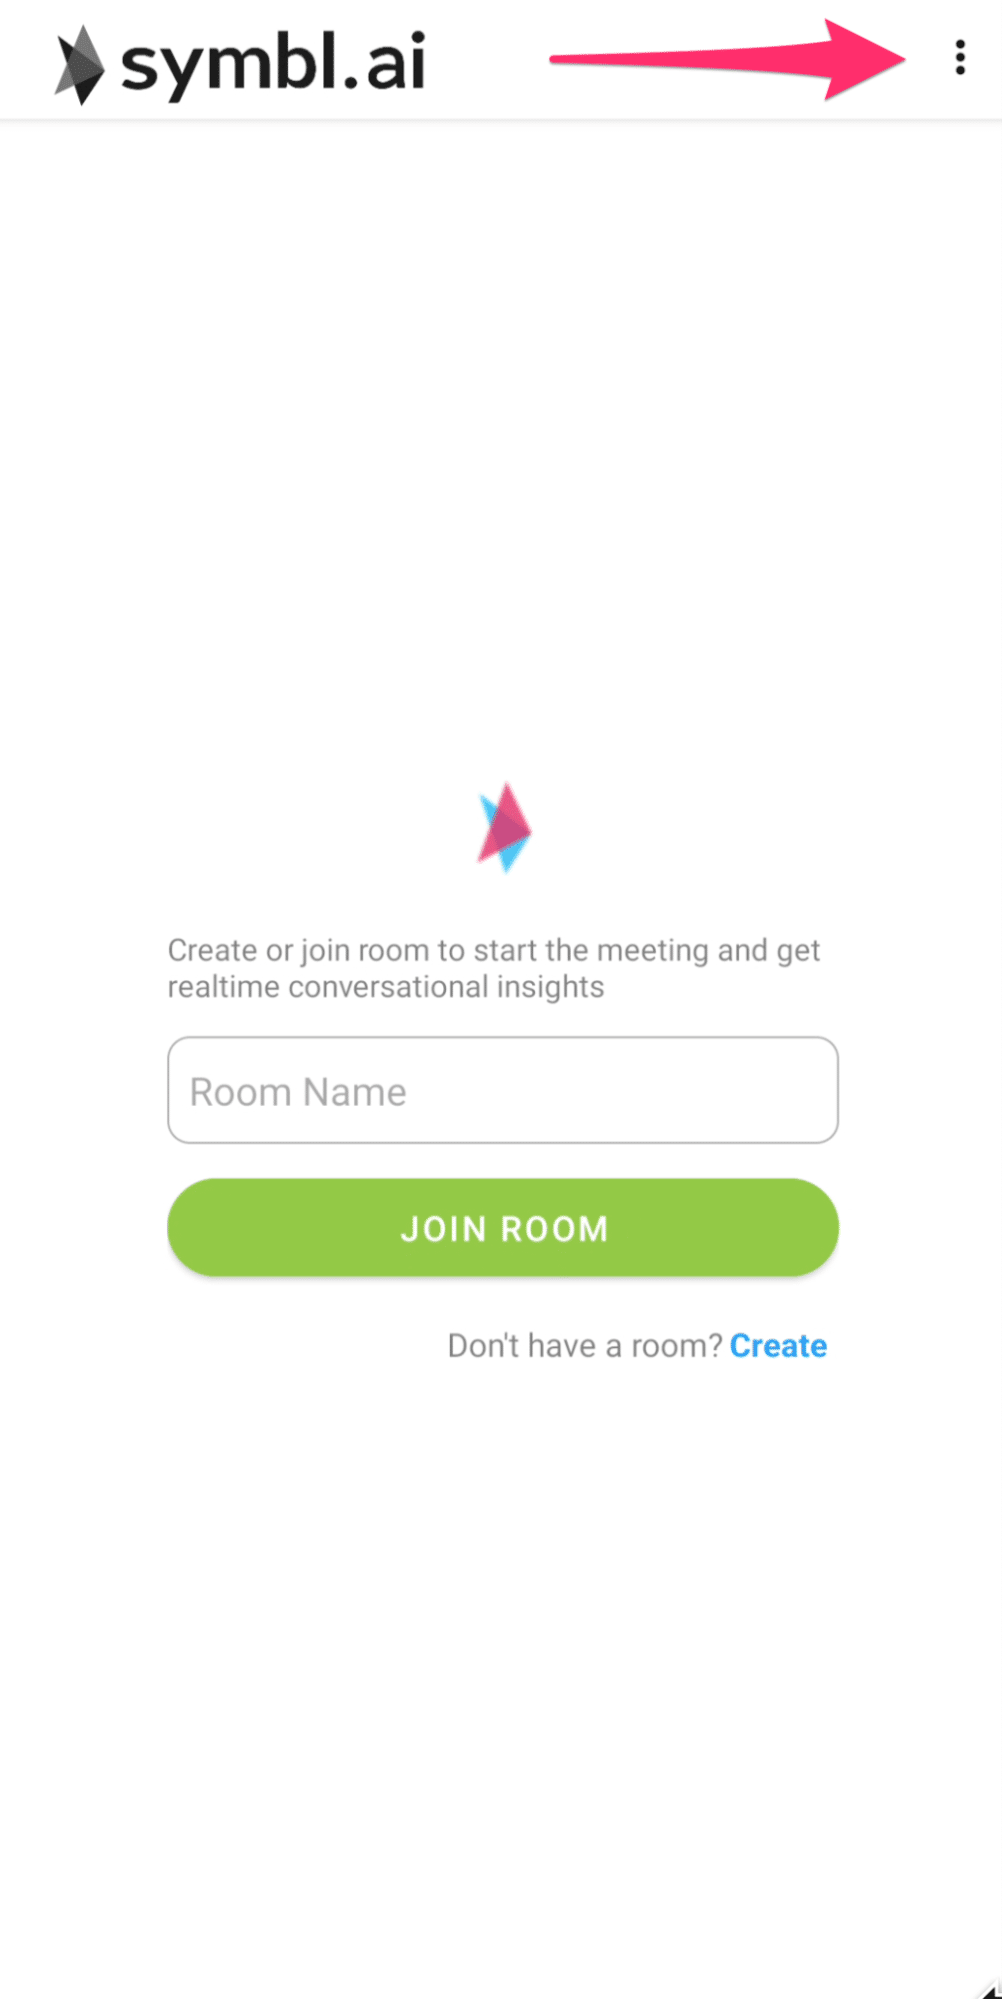
Here are a few screenshot examples of the App up and running… After the app launches, the first screen you see is a Join Room screen. In the upper right hand corner of the Join Room screen, there is a button for accessing the Preferences. It is indicated by the red arrow.
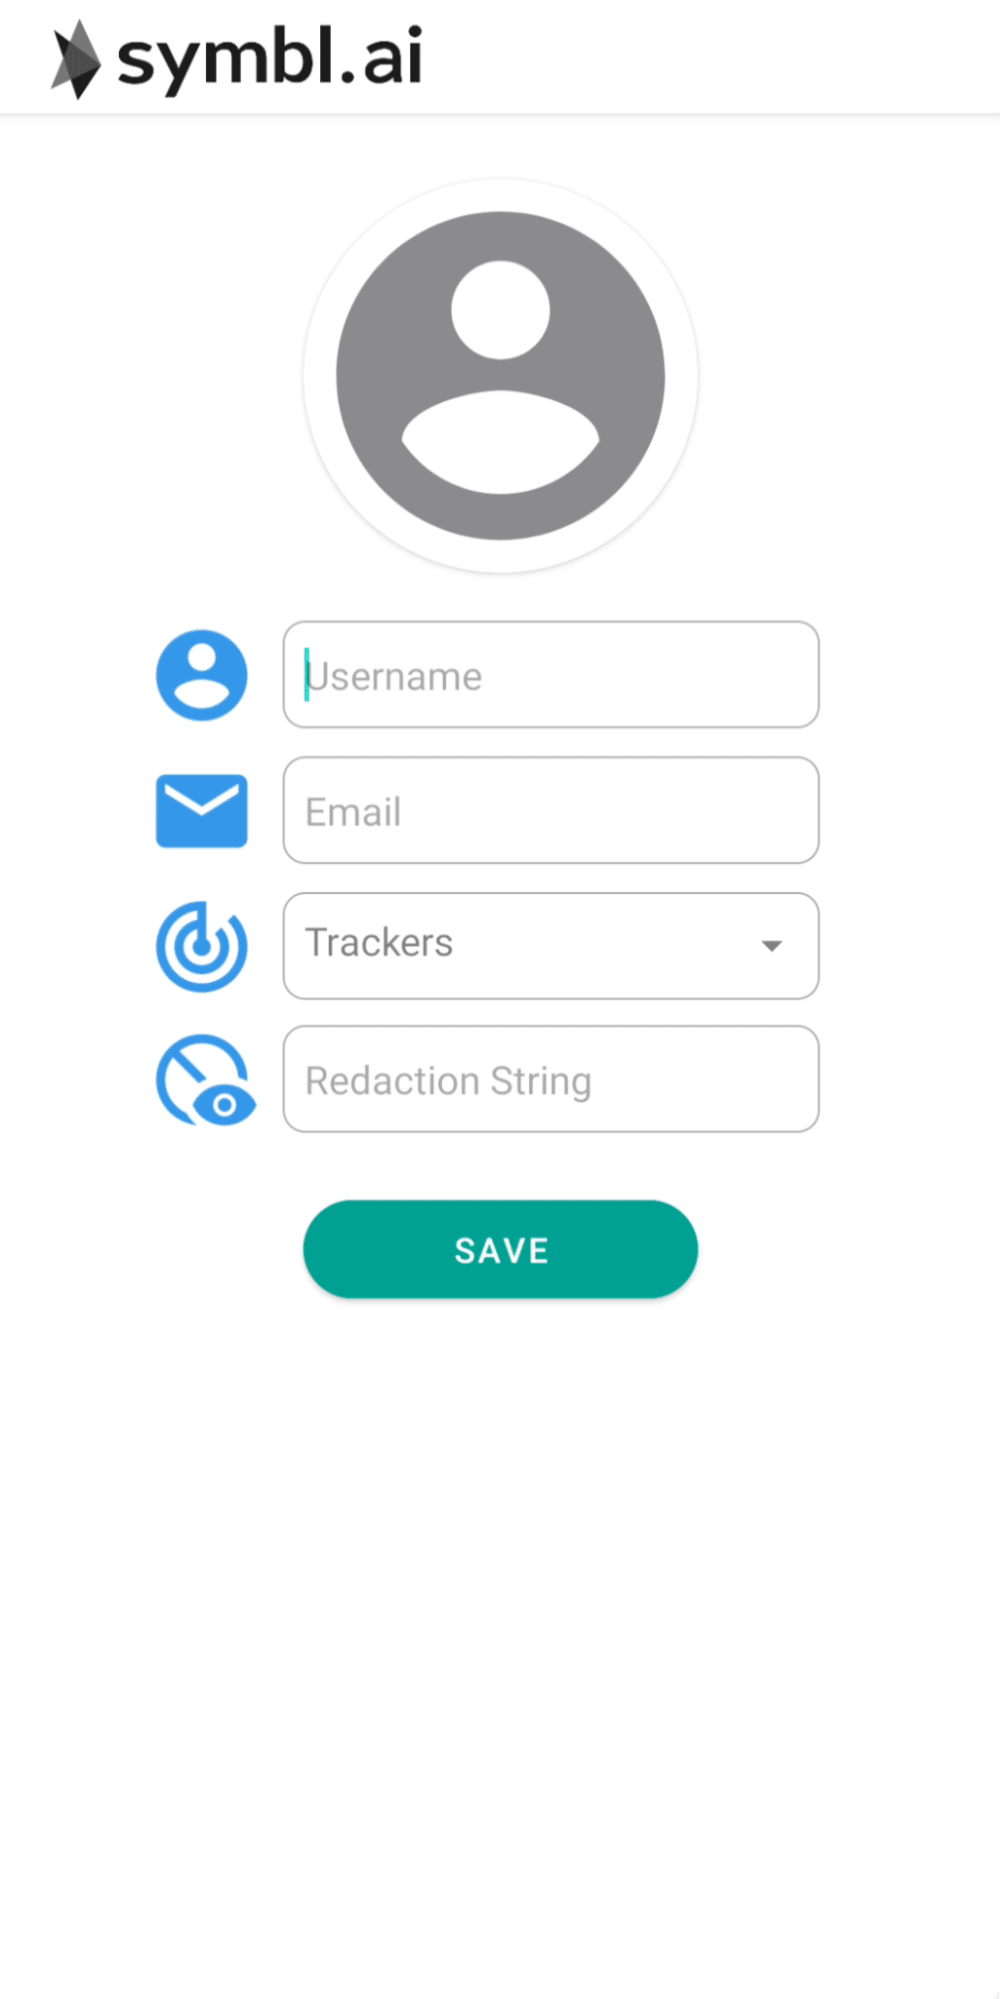
After clicking on the three dots at the top of the Join Room screen, you navigate to the Preferences screen. In the Preferences screen there are prompts for username, email, a prompt for selecting a Trackers API’s list of tracked words, a prompt for a redaction string. In the screen for Preferences below, hitting the Save button brings you right back to the Join Room / Create Room screen.
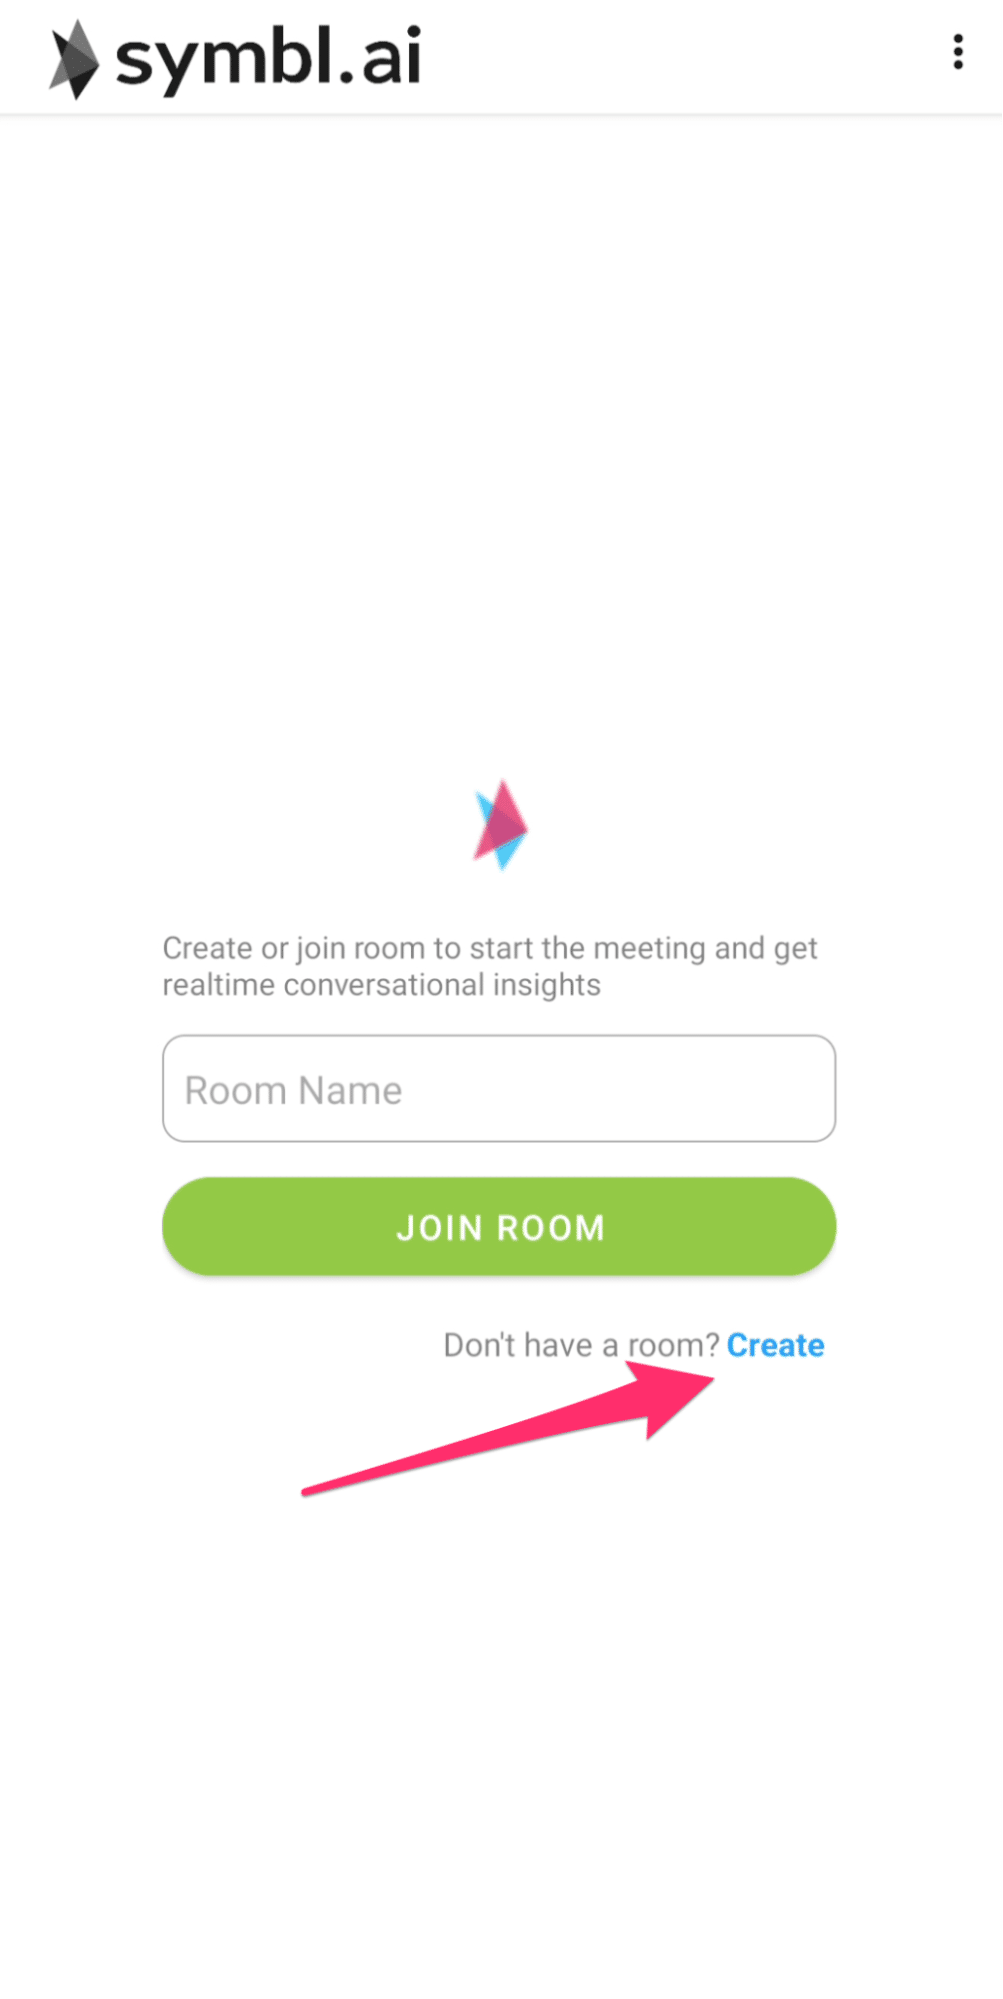
With your preferences already set, tap the Create button to continue.
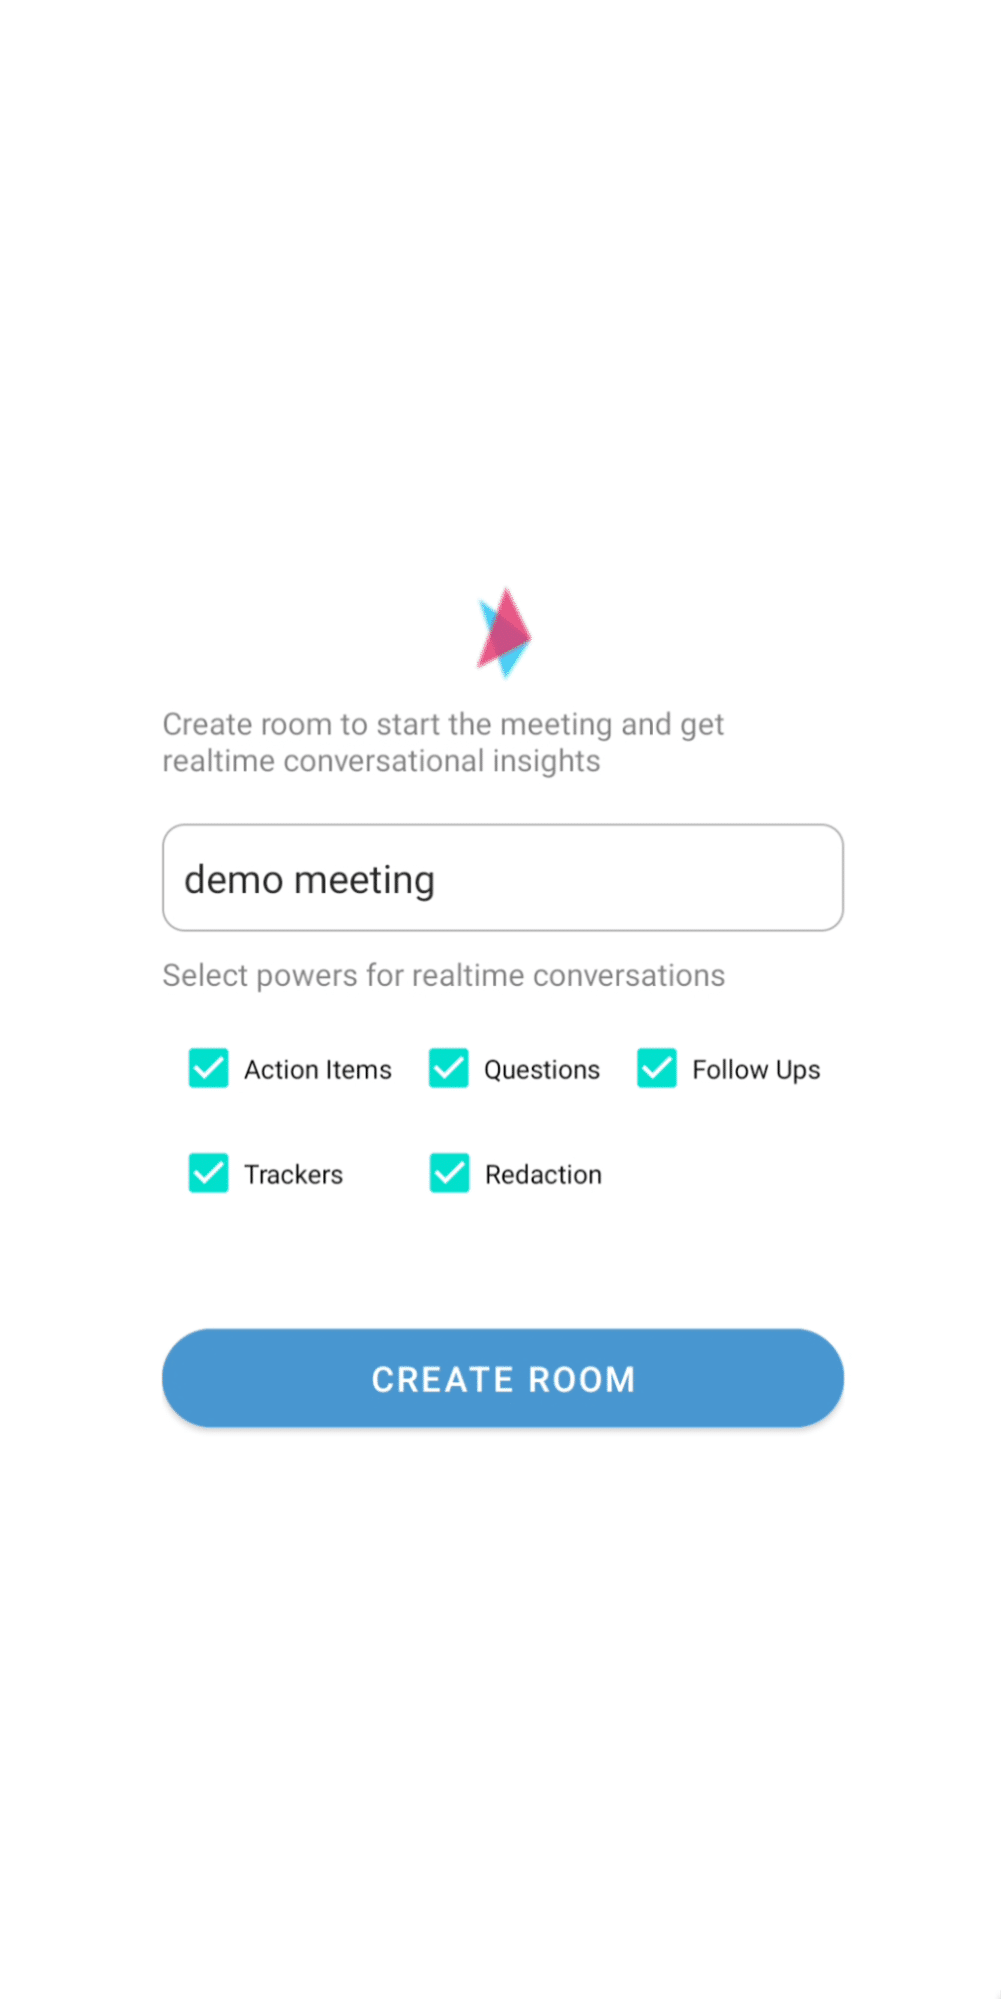
Use the Channel Name value you set up in the Temp Token Generation step as the Room Name and tap Create Room.
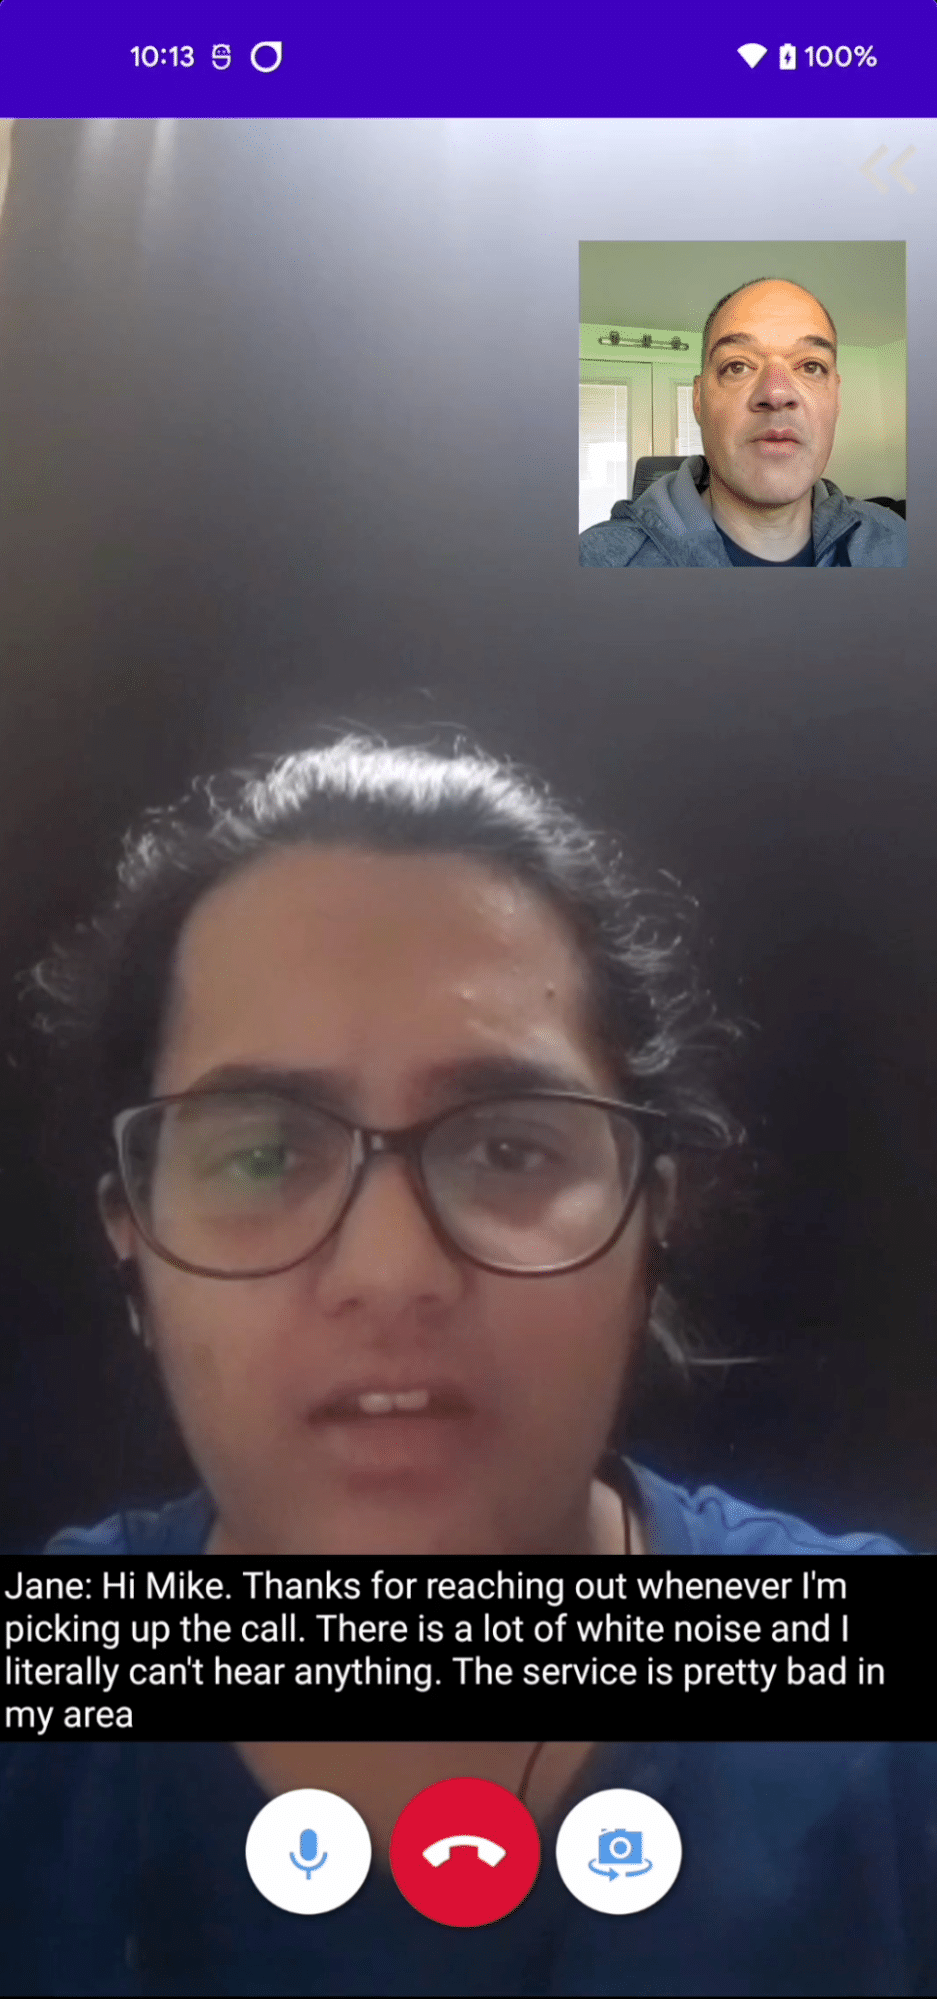
After you have created or joined a room, live captioning begins immediately as you can see in the example below.
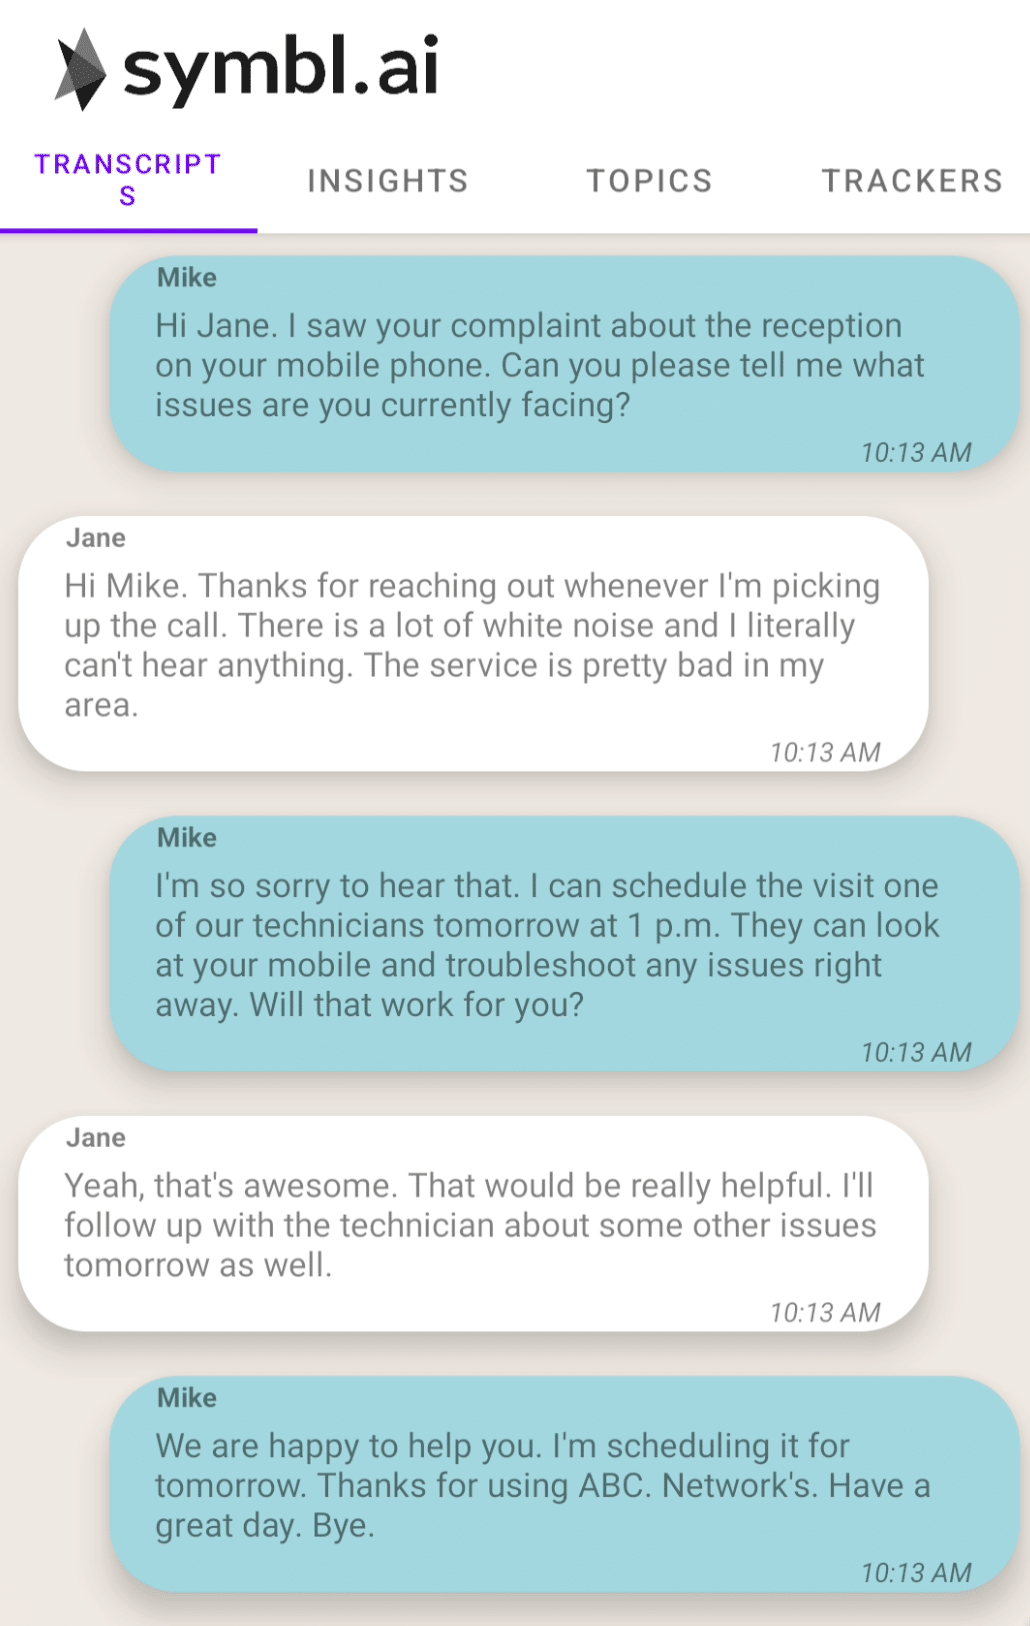
If you would like to see the other Symbl.ai Conversation Intelligence capabilities added to this sample mobile app that go beyond live captioning, swipe right. On that screen you see a tab view controller. The first tab shows the meeting Transcripts.
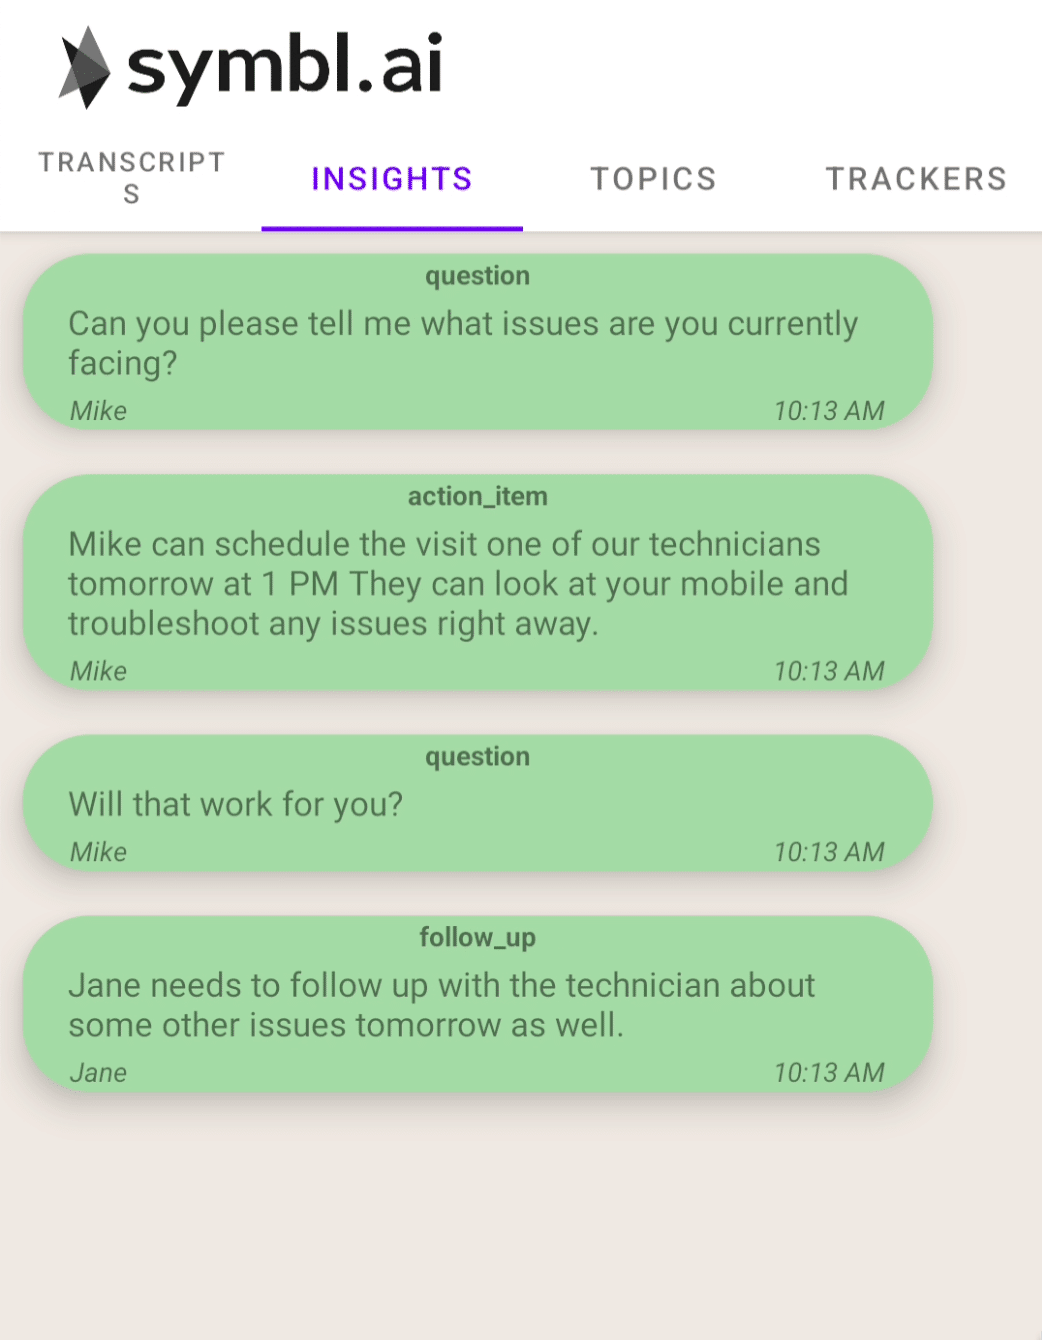
The next tab is Insights. Insights contain questions, action-items, and follow-ups, captured during the call.
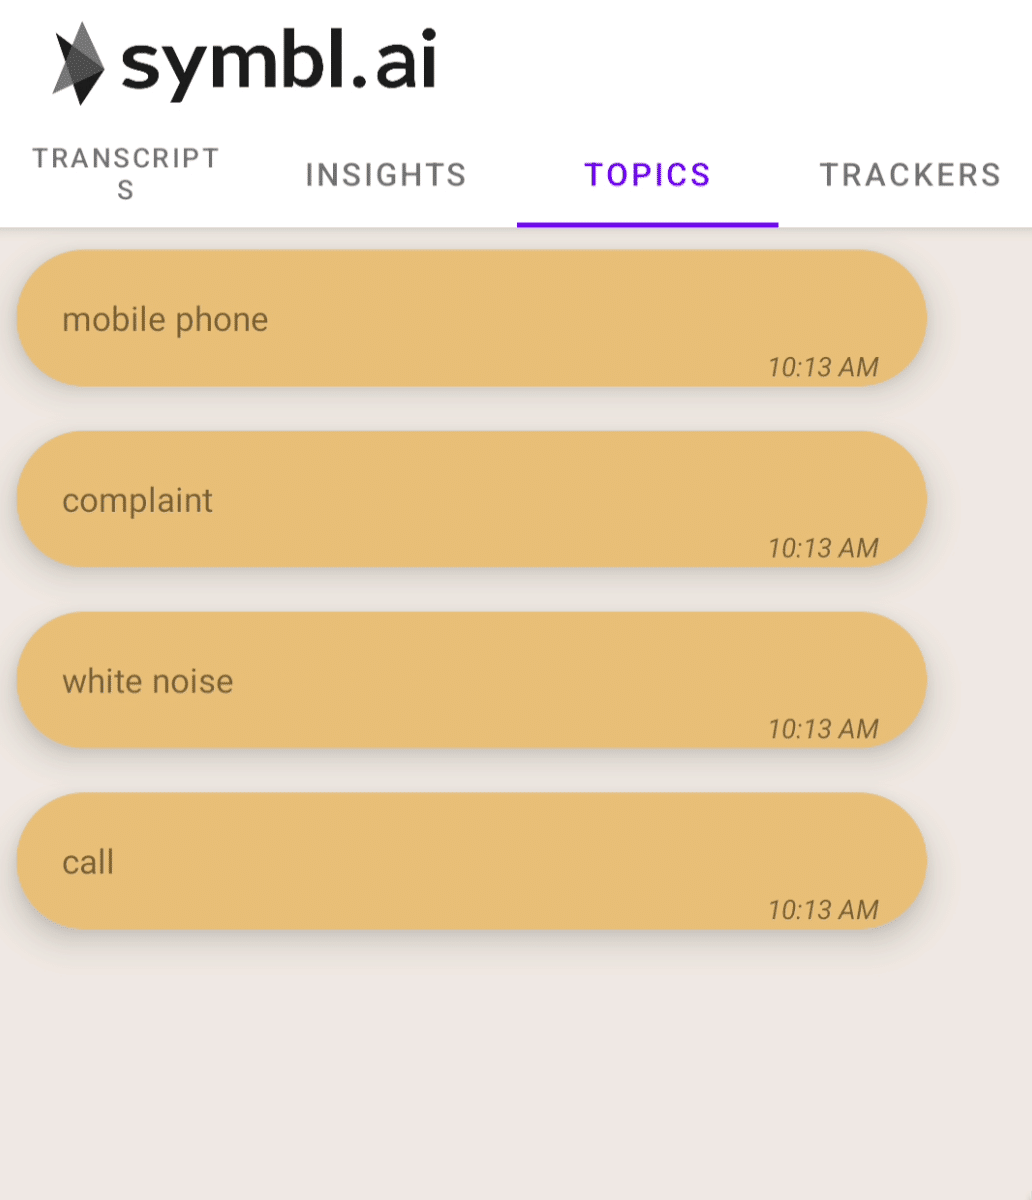
The next tab is the Topics. Topics are key drivers of the conversation. They are the most important keywords or phrases used.
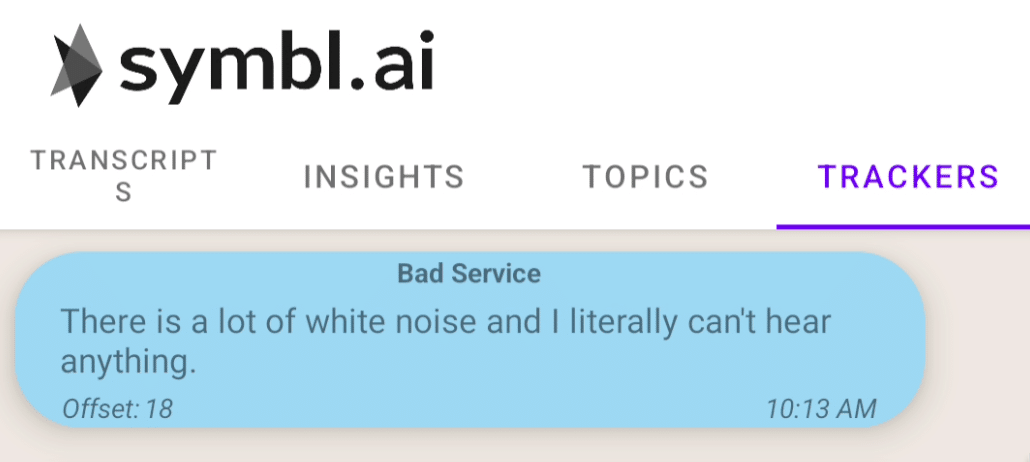
The final tab is for the Trackers. It is only viewable by the host of the meeting. Trackers are user-defined entities that allow you to track the occurrences of any characteristics or events in a conversation with just a few examples.
Community
Symbl.ai‘s invites developers to reach out to us via email at [email protected], join our Slack channels, participate in our hackathons, fork our Postman public workspace, or git clone our repos at Symbl.ai’s GitHub.
If you would like to set the app up for production, Agora.io has a number of resources like docs or tutorials on how to set up a token server, even ones specifically geared towards Android.